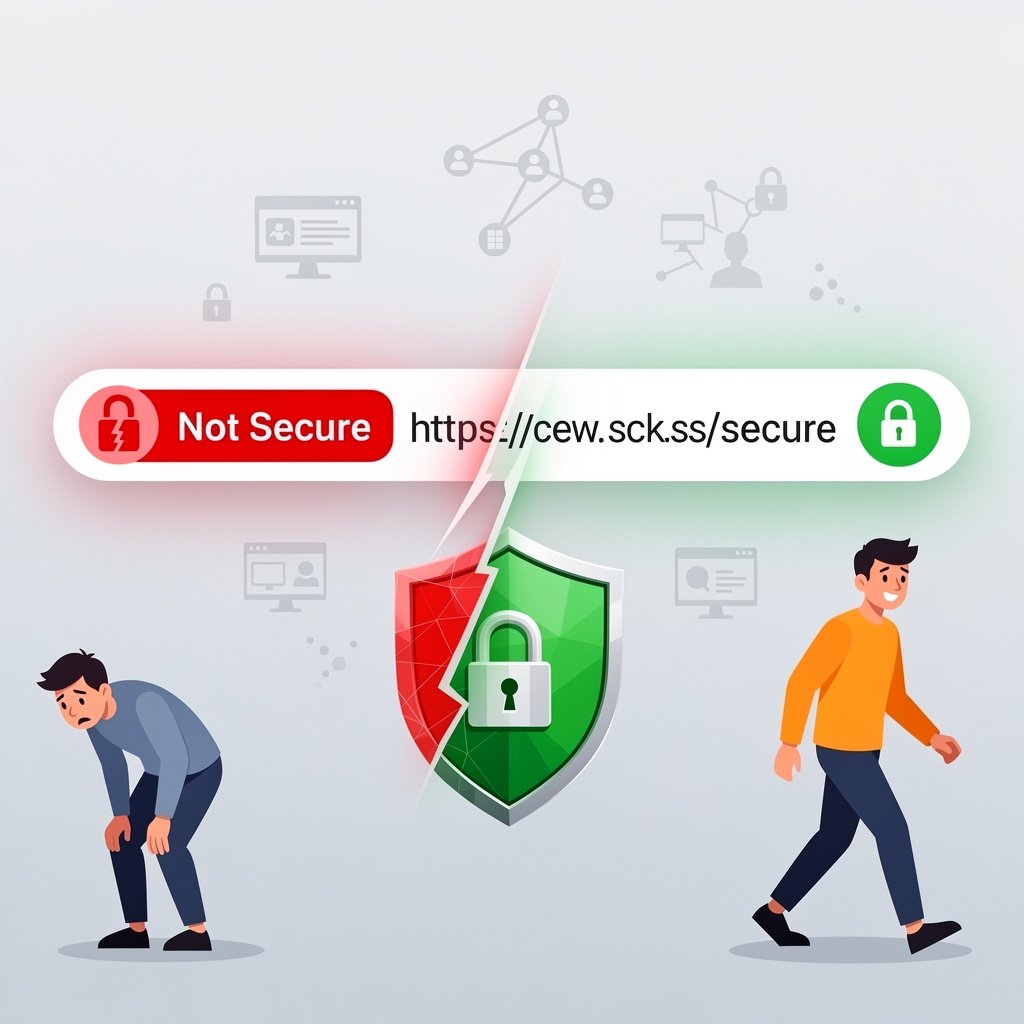
A visitor lands on your website and immediately sees 'Not Secure' in the browser's address bar with a broken padlock icon. Many of them click away instantly — would you not? A 'Not Secure' warning destroys trust before a single word of your content is read. It also tells Google that your site is not safe, which can hurt your rankings.
The good news: this is entirely fixable, often for free. This guide explains what causes the 'Not Secure' warning, how to get and install a free SSL certificate, how to fix mixed content errors, and how to redirect all traffic from HTTP to HTTPS.
What Causes the 'Not Secure' Warning?
HTTPS (the secure version of HTTP) requires an SSL/TLS certificate. This certificate encrypts all data sent between your website and your visitors, protecting sensitive information like passwords and payment details. If your site loads over plain HTTP without a certificate, browsers show the 'Not Secure' warning. If your certificate is expired, self-signed, or misconfigured, you may see a different warning like ERR_CERT_COMMON_NAME_INVALID or ERR_CERT_DATE_INVALID. The most common causes are: never having set up SSL, an expired SSL certificate, mixed content (HTTPS page loading HTTP resources), or an SSL certificate issued for the wrong domain.
Step 1: Get a Free SSL Certificate with Let's Encrypt
Let's Encrypt is a free, automated certificate authority that provides SSL certificates trusted by all major browsers. Most web hosting providers now offer free Let's Encrypt SSL installation directly from the hosting control panel.
If You Use cPanel Hosting
Log into cPanel. Scroll to the Security section and click on Let's Encrypt or SSL/TLS. Find your domain and click Issue Certificate (or similar). Wait 1-2 minutes for the certificate to be issued and installed. It is usually that simple. The certificate auto-renews every 90 days automatically.
If Your Host Does Not Offer Free SSL
Move to a better host — this is not negotiable in 2025. Alternatively, use Cloudflare's free SSL (cloudflare.com). Add your site to Cloudflare, change your domain's nameservers to Cloudflare's, and enable the SSL setting. Cloudflare acts as a reverse proxy and provides SSL even if your origin server does not have it.
Step 2: Force Your Site to Use HTTPS
Installing the certificate is not enough — you need to make sure every visitor automatically uses the HTTPS version of your site. There are two ways to do this.
WordPress: Use a Plugin
Install the Really Simple SSL plugin. Activate it and it automatically handles the HTTP to HTTPS redirect and updates all internal links. It is the simplest solution for WordPress sites.
Manual: Add HTTPS Redirect to .htaccess
For Apache servers, open the .htaccess file in your root directory and add these lines before any existing rules: RewriteEngine On, RewriteCond %{HTTPS} off, RewriteRule ^(.*)$ https://%{HTTP_HOST}%{REQUEST_URI} [L,R=301]. This permanently redirects all HTTP requests to HTTPS. Save the file and test by visiting http://yourwebsite.com — it should automatically redirect to https://.
Step 3: Fix Mixed Content Errors
After setting up HTTPS, you might still see a padlock with a yellow warning or an error about 'mixed content.' This happens when your HTTPS page contains resources (images, scripts, stylesheets) still loaded over HTTP. You need to update all internal HTTP links to HTTPS.
For WordPress Sites
Install the Better Search Replace plugin. Set DB Search (search for) to http://yourwebsite.com and Replace With to https://yourwebsite.com. Select all tables and run the search and replace. This updates all hardcoded HTTP URLs in your database to HTTPS. Clear your cache after doing this.
Finding Mixed Content Manually
Open Chrome DevTools (F12) on your page. Click the Security tab. If there are mixed content issues, they are listed there. Click Console for more detail — mixed content warnings appear as yellow warnings. Identify the HTTP resources and either update the source URL to HTTPS or remove the resource.
Step 4: Update Your URLs in WordPress Settings
Go to your WordPress admin → Settings → General. Update both WordPress Address (URL) and Site Address (URL) from http:// to https://. This ensures WordPress generates HTTPS URLs for all new pages and resources.
Troubleshooting Specific SSL Errors
ERR_CERT_COMMON_NAME_INVALID
The certificate was issued for a different domain than you are visiting. Make sure your certificate covers both yourwebsite.com and www.yourwebsite.com (check in the certificate details). Reissue the certificate including both variations.
ERR_CERT_DATE_INVALID
Your certificate has expired. Most certificates auto-renew, but sometimes the process fails. Log into your hosting panel and manually renew or reissue the Let's Encrypt certificate.
SSL Handshake Failed
This usually indicates a server-side SSL configuration problem. Contact your hosting provider's support team — this is not something you can typically fix from the hosting control panel and requires server-level troubleshooting.
After Fixing SSL: Inform Google
Add both the HTTP and HTTPS versions of your site to Google Search Console if you have not already. After your HTTPS redirect is working, set the HTTPS version as your preferred domain. Resubmit your sitemap with HTTPS URLs. Google will gradually update its index to your new HTTPS URLs over the following weeks.
Conclusion
A 'Not Secure' warning is one of the most easily fixable website problems, and fixing it has a measurable impact on visitor trust, conversion rates, and SEO. Set up a free Let's Encrypt certificate, force HTTPS, fix mixed content, and your padlock will be green within the hour. There is no good reason any website in 2025 should still be serving over plain HTTP.
More...